物件導向與class
1. 製作一粒波子
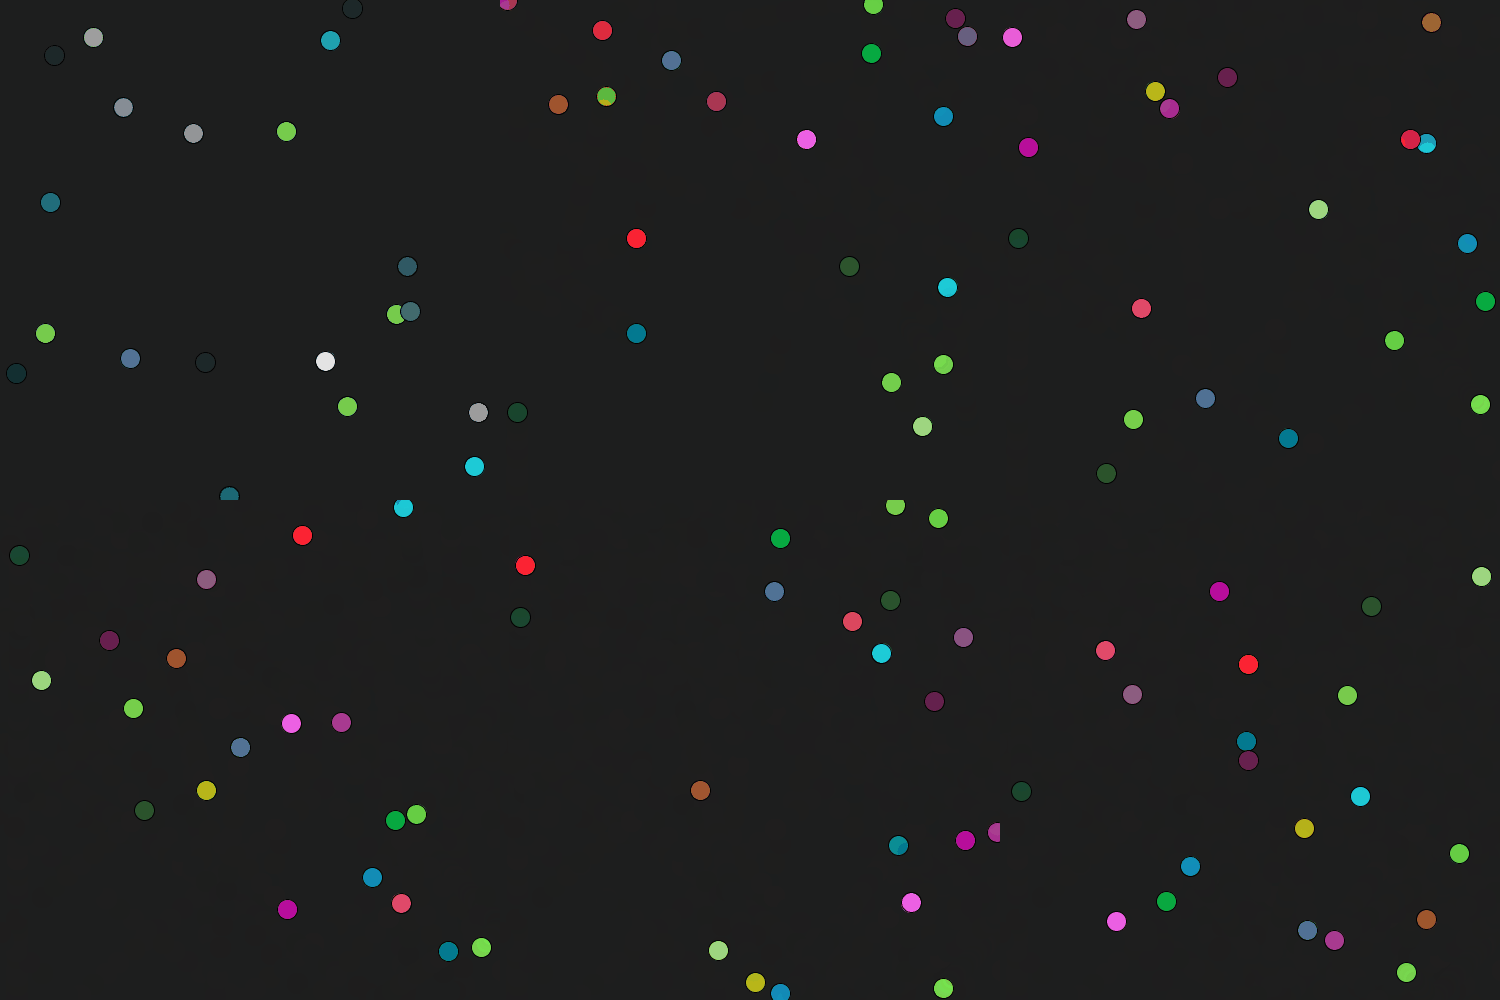
想像一下,如果你現在要在畫面上,製作一粒會四面彈的波子,你會怎樣做?跟之前一樣,你首先需要幾個區:
宣告區:
波子的位置
波子的速度
波子的顏色
setup():初始化波子的位置
初始化波子的速度
初始化波子的顏色
draw():填背景
更新波子的位置
繪畫波子
如果用程式碼做出來就會如下:
x1ballPos = PVector()2ballVec = PVector()3ballColor = color(0)4
5def setup():6 global ballPos, ballVec, ballColor7 8 size(500,500)9 ballPos = PVector(random(0, width), random(0, height))10 ballVec = PVector(random(-5, 5), random(-5, 5))11 ballColor = color(random(0, 255), random(0, 255), random(0, 255))12 13def draw():14 background(30)15 move()16 show()17 18def move():19 global ballPos20 21 ballPos = ballPos.add(ballVec)22 if (ballPos.x > width or ballPos.x < 0):23 ballVec.x *= -124 if (ballPos.y > height or ballPos.y < 0):25 ballVec.y *= -126
27def show():28 fill(ballColor)29 ellipse(ballPos.x, ballPos.y, 20, 20)
2. 用for製作多粒波子
那如果要做20粒的話, 你會怎樣做?之前有教過一個方法,是用List去做,方法如下:
xxxxxxxxxx321ballPos = []2ballVec = []3ballColor = []4
5def setup():6    global ballPos, ballVec, ballColor7    8    size(500,500)9    for i in range(20):10        ballPos.append( PVector(random(0, width), random(0, height)) )11        ballVec.append( PVector(random(-5, 5), random(-5, 5)) )12        ballColor.append( color(random(0, 255), random(0, 255), random(0, 255))  )13    14def draw():15    background(30)16    move()17    show()18    19def move():20    global ballPos21    22    for i in range(20):23        ballPos[i] = ballPos[i].add(ballVec[i])24        if (ballPos[i].x > width or ballPos[i].x < 0):25            ballVec[i].x *= -126        if (ballPos[i].y > height or ballPos[i].y < 0):27            ballVec[i].y *= -128
29def show():30    for i in range(20):31        fill(ballColor[i])32        ellipse(ballPos[i].x, ballPos[i].y, 20, 20)
3. 用class方法歸納多粒波子
上述方法沒有甚麼問題,好好地運作,你當然可以這樣去做。但如果在波子以外,你同時需要其他不同的元素,例如星球大戰遊戲,有20部飛船,每部飛船發出若干子彈,那就已經有2種元素,如果再加上小行星,就是三種,而每種元素都有自己對應的變數,那麼一開始的宣告區就會非常多不同變數,如果命名習慣不好,全部都是x, y, a, b等等,那麼要修改維護就會十分困難。
那有沒有一種辦法,可以好好歸類這些變數,令程式更好維護呢?那就需要用到物件和class。用回上面的例子,要畫一粒波子,方法如下:
宣告區:
波子物件
setup():
初始化波子物件
draw():
填背景
更新波子物件的位置
繪畫波子物件
xxxxxxxxxx311b = 02
3def setup():4    global b5    6    size(500,500)7    b = Ball()8    9def draw():    10    background(30)11    b.move()12    b.show()13    14#=======================ball object=======================================15
16class Ball(object):    17    def __init__(self):18        self.ballPos = PVector(random(0, width), random(0, height))19        self.ballVec = PVector(random(-5, 5), random(-5, 5))20        self.ballColor = color(random(0, 255), random(0, 255), random(0, 255))21
22    def move(self):23        self.ballPos = self.ballPos.add(self.ballVec)24        if (self.ballPos.x > width or self.ballPos.x < 0):25            self.ballVec.x *= -126        if (self.ballPos.y > height or self.ballPos.y < 0):27            self.ballVec.y *= -128
29    def show(self):30        fill(self.ballColor)31        ellipse(self.ballPos.x, self.ballPos.y, 20, 20)
效果是跟上面一模一樣的,分別只在於程式用上class去做。

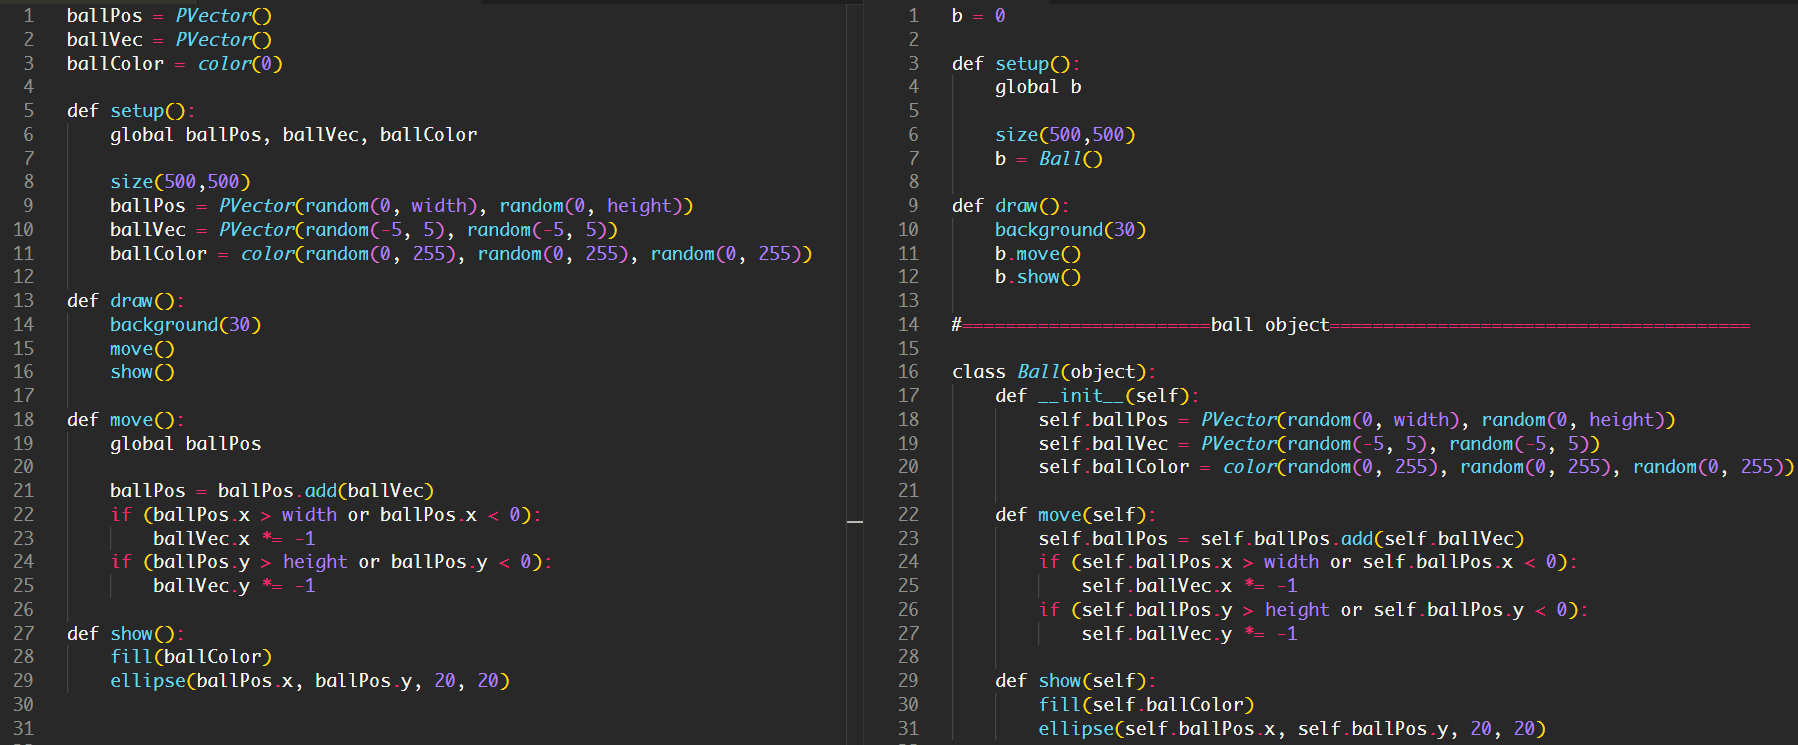
我將兩個程式side by side比較一下,你就會見到分別。比較特別的是,所有在class中的變數,都需要特別地用self去標明是這個class內的變數,所以看上去感覺會比較複雜一點,但如果你同時有多個差不多的變數,例如上述例子,星球大戰有飛船、子彈、小行星,如果你懶得命名叫shipPos, bulletPos, starPos等等,那在自己的class內,你可以全部統一命名為Pos,或者 x和y,重複都沒有關係,因為注明了是self的話,就會知道是這一個class內的x和y。
4. 用class畫20粒波子
xxxxxxxxxx331b = []2
3def setup():4    global b5    6    size(500,500)7    for i in range(20):8        b.append(Ball())9    10def draw():    11    background(30)12    for i in range(20):13        b[i].move()14        b[i].show()15    16#=======================ball object=======================================17
18class Ball(object):    19    def __init__(self):20        self.ballPos = PVector(random(0, width), random(0, height))21        self.ballVec = PVector(random(-5, 5), random(-5, 5))22        self.ballColor = color(random(0, 255), random(0, 255), random(0, 255))23
24    def move(self):25        self.ballPos = self.ballPos.add(self.ballVec)26        if (self.ballPos.x > width or self.ballPos.x < 0):27            self.ballVec.x *= -128        if (self.ballPos.y > height or self.ballPos.y < 0):29            self.ballVec.y *= -130
31    def show(self):32        fill(self.ballColor)33        ellipse(self.ballPos.x, self.ballPos.y, 20, 20)
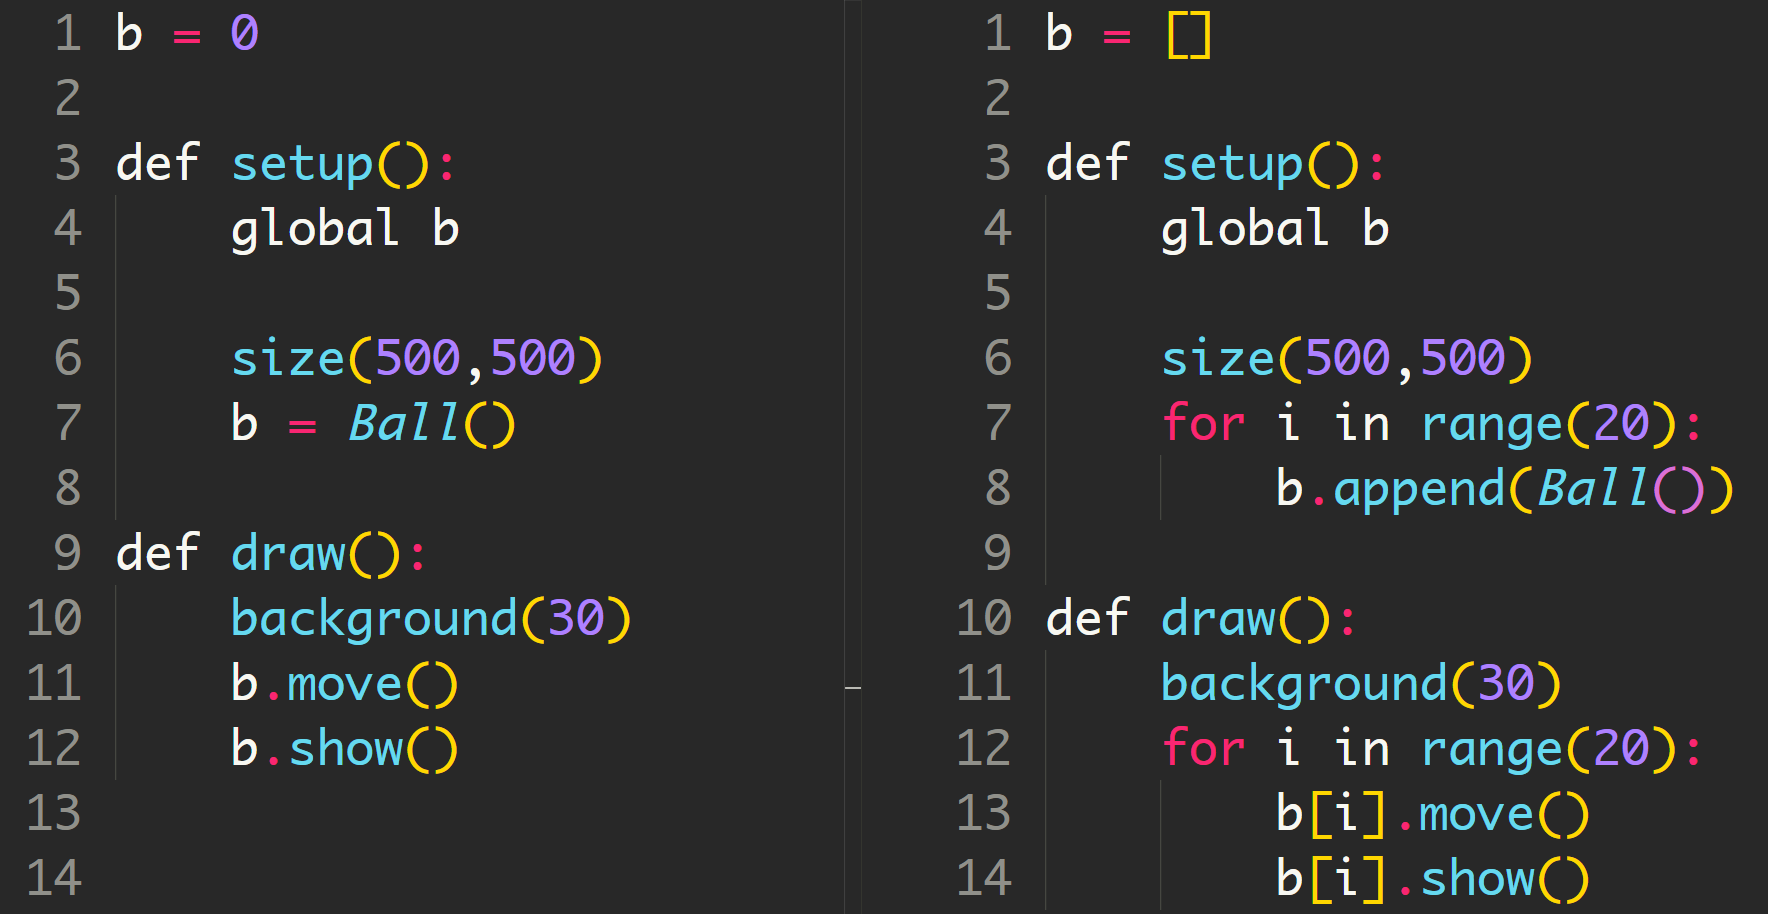
對比起前面要分別在setup(),draw(),move()和show()都各自做for重覆20次,今次用class的方法就十分簡潔,不需要理會class入面的內容,內容是不需要變的,只要用波子物件(b)重覆開20個就可以了。
詳細的教程可以參考官網這裡。