Breakout
《Breakout》是一款由雅達利開發及發佈的街機遊戲。此遊戲是由諾蘭·布殊內爾和斯蒂夫·布里斯托構思,並且是參考1972年雅達利街機遊戲《乓》創作,於1976年4月發佈,並且已洐生了不少打磚塊作品,如《Gee Bee》和《快打磚塊》。

0. 本章重點
向量(Vector)
列表(list)
函數(function)
邏輯布林運算
程式常用技巧: 一鍵restart遊戲
1. 繪畫一個會彈牆的球
跟上一次一樣,我們先建立一個空間,畫一個會動的球,這個球在撞到左右兩邊的牆時會反彈。
x1ballPosX = 02ballPosY = 03ballVecX = 04ballVecY = 05
6def setup():7 global ballPosX, ballPosY, ballVecX, ballVecY8 9 size(800, 600)10 11 ballPosX = width/212 ballPosY = height-2013 ballVecX = random(-5,5)14 ballVecY = -115 16def draw():17 global ballPosX, ballPosY, ballVecX, ballVecY18 19 background(30)20 21 ballPosX = ballPosX + ballVecX22 ballPosY = ballPosY + ballVecY23 24 if (ballPosX <= 0 or ballPosX >= width):25 ballVecX *= -126 if (ballPosY <= 0):27 ballVecY *= -128 29 ellipse(ballPosX, ballPosY, 20, 20)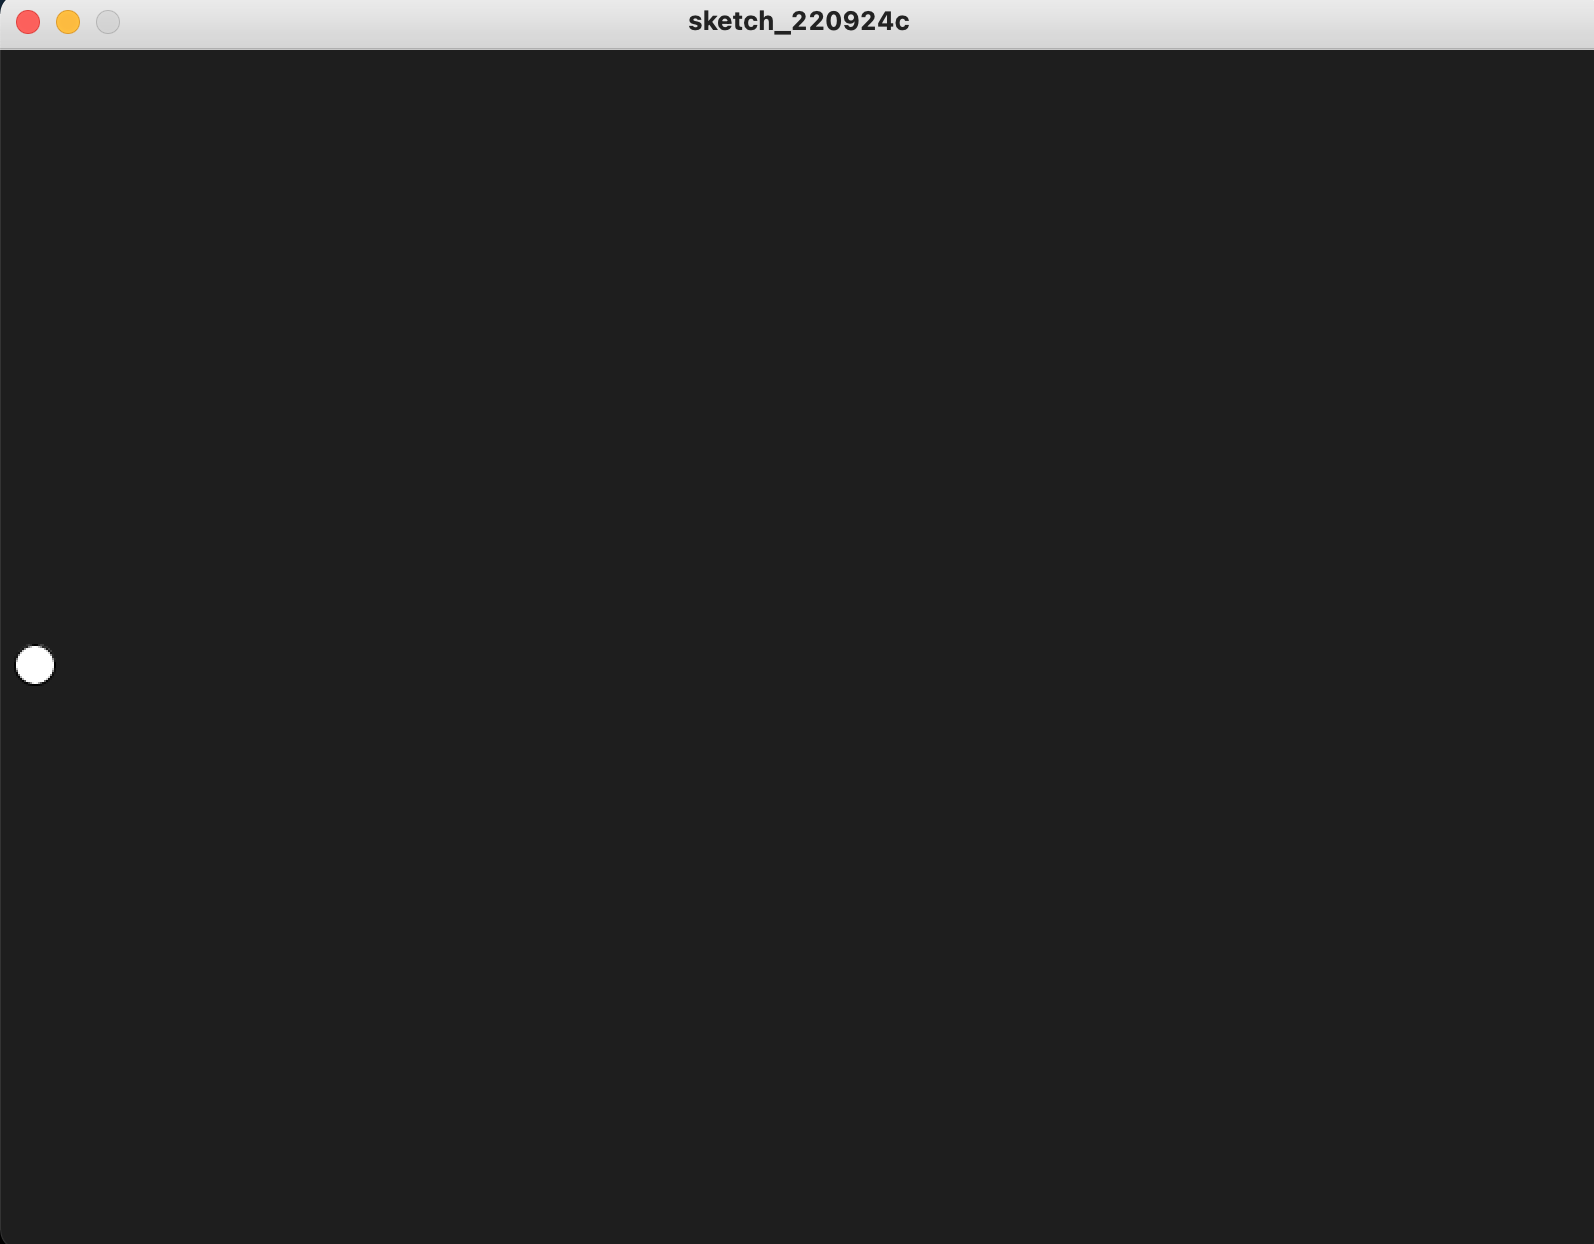
1.1 Vector(向量)
上述的程式碼沒有甚麼問題,一切都可以運作起來,但你想想,如果是2D遊戲,每個球的座標會有兩個變數,如果是3D的遊戲,每個球的座標就會是3個變數;除了變數較多外,這些變數也不好運作。
這裡介紹一個很好用的數學工具叫Vector(向量)。詳細的數學方面的教學可看看這裡。
xxxxxxxxxx241ballPos = PVector()2ballVec = PVector()3
4def setup():5    global ballPos, ballVec6    7    size(800, 600)8    9    ballPos = PVector(width/2, height-20)10    ballVec = PVector(random(-5,5), -1)11
12def draw():13    global ballPos, ballVec14    15    background(30)16    17    ballPos = ballPos.add(ballVec)18    19    if (ballPos.x <= 0 or ballPos.x >= width):20        ballVec.x *= -121    if ballPos.y <=0:22        ballVec.y *= -123    24    ellipse(ballPos.x, ballPos.y, 20, 20)
xxxxxxxxxx21ballPos = PVector()2ballVec = PVector()就是宣告一個空的Vector
xxxxxxxxxx21ballPos = PVector(width/2, height-20)2ballVec = PVector(random(-5,5), -1)跟上面分開宣告x和y一樣,但這裡只要集中x和y宣告一次就可以了。
xxxxxxxxxx61ballPos = ballPos.add(ballVec)2
3if (ballPos.x <= 0 or ballPos.x >= width):4 ballVec.x *= -15if ballPos.y <=0:6 ballVec.y *= -1之前是ballPosX加上ballVecX,ballPosY加上ballVecY,這裡其實都是做同一樣的事情,只是用向量的方式進行。
如果要指定一個向量(vector)的獨立軸的值(例如x軸),可以用這樣表示: ballPos.x。
2. 製作會反彈球的彈板
xxxxxxxxxx341ballPos = PVector()2ballVec = PVector()3
4beam = PVector()5
6def setup():7    global ballPos, ballVec, beam8    9    size(800, 600)10    11    ballPos = PVector(width/2, height-20)12    ballVec = PVector(random(-5,5), -1)13    14    beam = PVector(width/2, height-15)15    rectMode(CENTER)16
17def draw():18    global ballPos, ballVec, beam19    20    background(30)21    22    ballPos = ballPos.add(ballVec)23    beam = PVector(mouseX, beam.y)24    25    if (ballPos.x <= 0 or ballPos.x >= width):26        ballVec.x *= -127    if ballPos.y <=0:28        ballVec.y *= -129    30    if ballPos.x >= beam.x - 25 and ballPos.x <= beam.x + 25 and ballPos.y >= height-15:31        ballVec.y *= -132    33    ellipse(ballPos.x, ballPos.y, 20, 20)34    rect(beam.x, beam.y, 50, 10)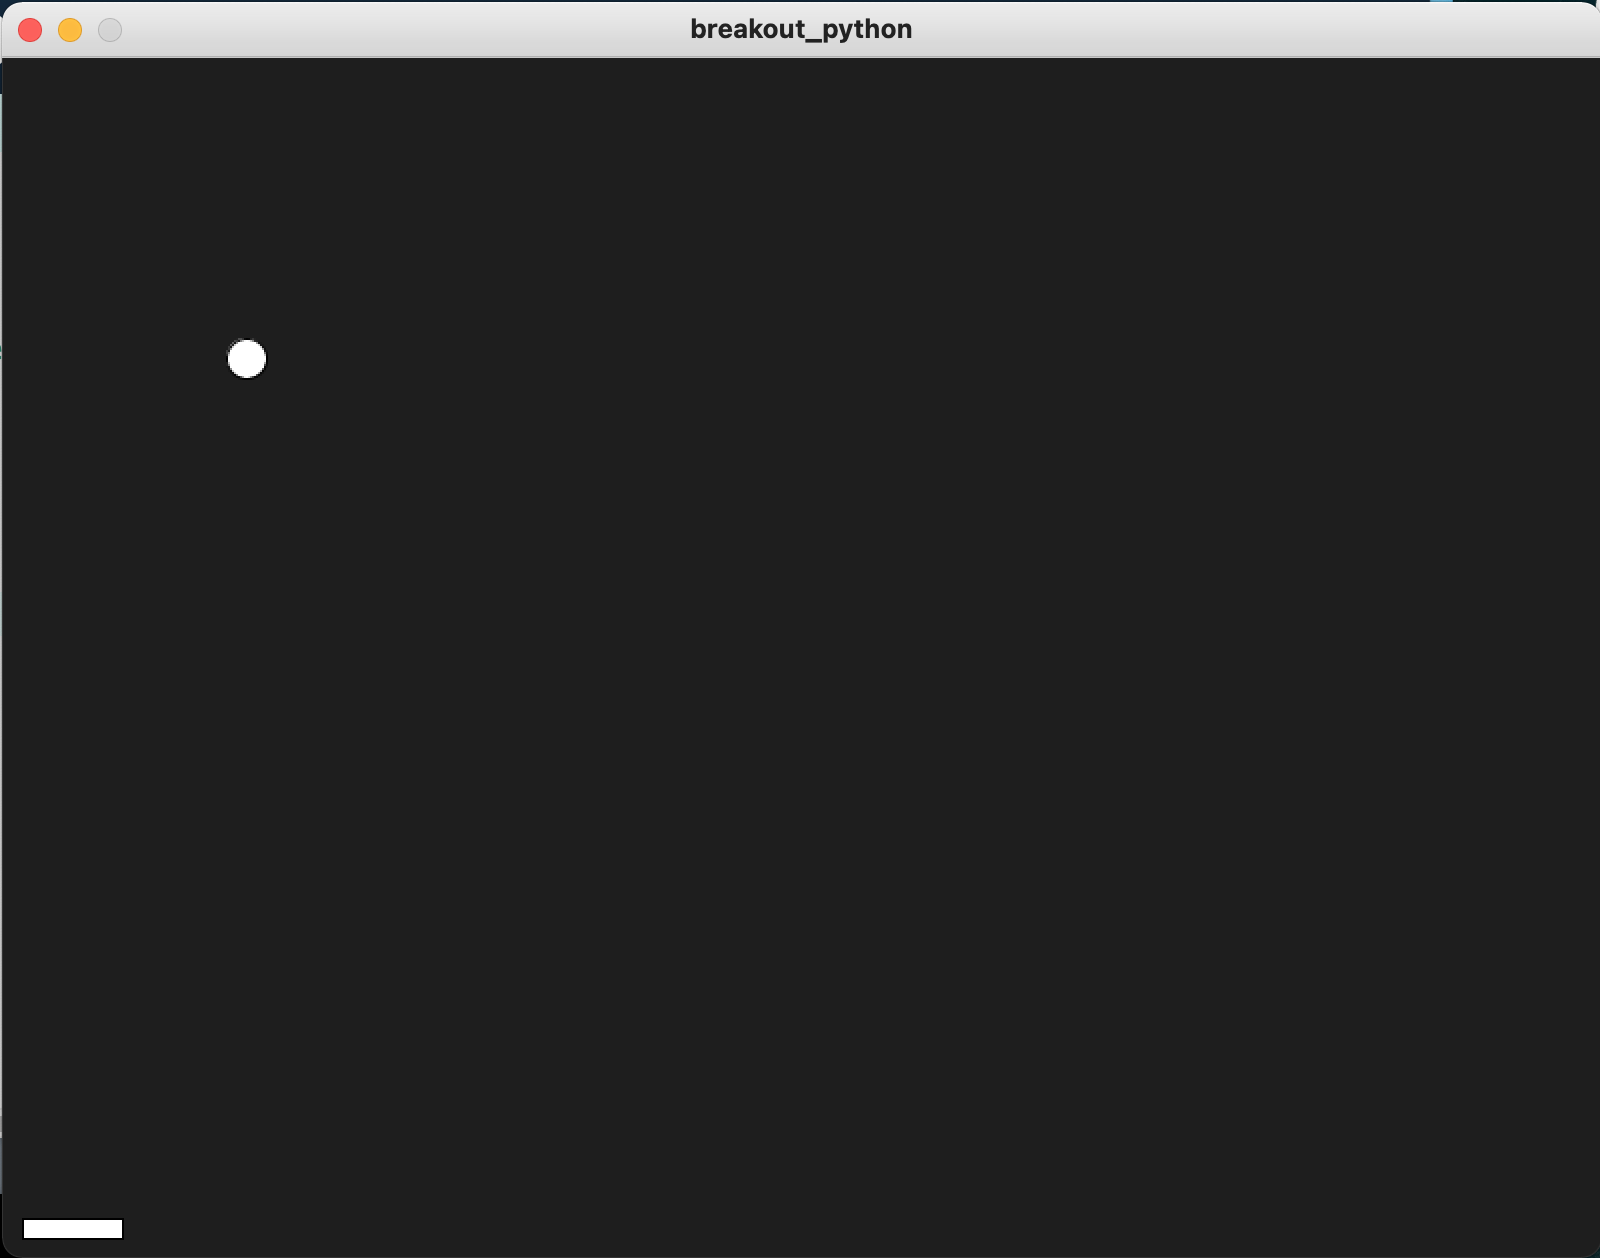
xxxxxxxxxx11beam = PVector()宣告一個叫beam的向量。
xxxxxxxxxx21beam = PVector(width/2, height-15)2rectMode(CENTER)在setup()中預返beam的位置,將rectMode()設定為CENTER。
xxxxxxxxxx61beam = PVector(mouseX, beam.y)2
3if ballPos.x >= beam.x - 25 and ballPos.x <= beam.x + 25 and ballPos.y >= height-15:4 ballVec.y *= -15 6rect(beam.x, beam.y, 50, 10)在draw()中,每幀都指定beam的位置為(mouseX, height-15),跟上一次的Pong一樣,當球撞到板後,就反彈球。而今次我們最後將beam畫出來。
3. 美化一下更加像原版
xxxxxxxxxx371ballPos = PVector()2ballVec = PVector()3
4beam = PVector()5beamWidth = 1006
7def setup():8    global ballPos, ballVec, beam9    10    size(800, 600)11    12    ballPos = PVector(width/2, height-20)13    ballVec = PVector(random(-5,5), -1)14    15    beam = PVector(width/2, height-15)16    rectMode(CENTER)17
18def draw():19    global ballPos, ballVec, beam20    21    background(30)22    23    ballPos = ballPos.add(ballVec)24    beam = PVector(mouseX, beam.y)25    26    if (ballPos.x <= 0 or ballPos.x >= width):27        ballVec.x *= -128    if ballPos.y <=0:29        ballVec.y *= -130    31    if ballPos.x >= beam.x - beamWidth/2 and ballPos.x <= beam.x + beamWidth/2 and ballPos.y >= height-15:32        ballVec.y *= -133    34    fill(198, 73, 75)35    noStroke()36    rect(ballPos.x, ballPos.y, 20, 20)37    rect(beam.x, beam.y, beamWidth, 10)
xxxxxxxxxx11beamWidth = 100加入一個變數beamWidth用來控製球拍的寬度。
xxxxxxxxxx21if ballPos.x >= beam.x - beamWidth/2 and ballPos.x <= beam.x + beamWidth/2 and ballPos.y >= height-15:2 ballVec.y *= -1原本球拍寬度為50時,球拍一半就是25,所以要用ballPos.x >= beam.x - 25 and ballPos.x <= beam.x + 25,現在設定了球拍的寬度為beamWidth,所以要改成為ballPos.x >= beam.x - beamWidth/2 and ballPos.x <= beam.x + beamWidth/2
xxxxxxxxxx41fill(198, 73, 75)2noStroke()3rect(ballPos.x, ballPos.y, 20, 20)4rect(beam.x, beam.y, beamWidth, 10)最後將球和拍畫出來。顏色跟隨原版,沒有框線。
4. 製作磚頭
xxxxxxxxxx571ballPos = PVector()2ballVec = PVector()3
4beam = PVector()5beamWidth = 1006
7brickPos = []8brickState = [] 9brickWidth = 010brickHeight = 011brickColor = ["#C54846","#CE7238","#BB7C2F","#A29B27","#429143","#4350CC"]12
13def setup():14    global ballPos, ballVec, beam, brickPos, brickWidth, brickHeight15    16    size(800, 600)17    18    ballPos = PVector(width/2, height-20)19    ballVec = PVector(random(-5,5), -1)20    21    beam = PVector(width/2, height-15)22    rectMode(CENTER)23    24    brickWidth = width/1625    brickHeight = 2026    27    for i in range(6):28        elements = []29        for j in range(16):30            elements.append(PVector(j*brickWidth+brickWidth/2, i*brickHeight+50))31        brickPos.append(elements)32
33def draw():34    global ballPos, ballVec, beam, brickPos, brickWidth, brickHeight35    36    background(30)37    38    ballPos = ballPos.add(ballVec)39    beam = PVector(mouseX, beam.y)40    41    if (ballPos.x <= 0 or ballPos.x >= width):42        ballVec.x *= -143    if ballPos.y <=0:44        ballVec.y *= -145    46    if ballPos.x >= beam.x - beamWidth/2 and ballPos.x <= beam.x + beamWidth/2 and ballPos.y >= height-15:47        ballVec.y *= -148    49    fill(198, 73, 75)50    noStroke()51    rect(ballPos.x, ballPos.y, 20, 20)52    rect(beam.x, beam.y, beamWidth, 10)53    54    for i in range(6):55        fill(brickColor[i])56        for j in range(16):57            rect(brickPos[i][j].x, brickPos[i][j].y, brickWidth, brickHeight)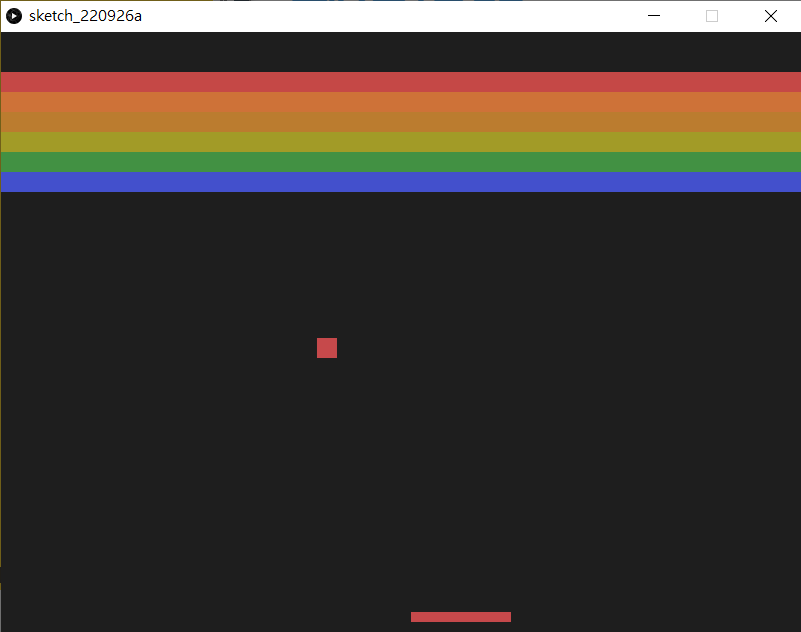
xxxxxxxxxx51brickPos = []2brickState = [] 3brickWidth = 04brickHeight = 05brickColor = ["#C54846","#CE7238","#BB7C2F","#A29B27","#429143","#4350CC"]在setup()之前,宣告所有磚的位置、狀況(是出現還是消失)、寬度、長度和每一行磚的顏色。值得注意的是brickPos和brickState,由於有6x16塊磚,而每塊磚都有自己的狀態,所以我們不可能用6x16個不同命名的變數去裝起它們,這裡我們用一個list去裝起它們。甚麼是list,可以參考這裡。
xxxxxxxxxx81brickWidth = width/162brickHeight = 203
4for i in range(6):5 elements = []6 for j in range(16):7 elements.append(PVector(j*brickWidth+brickWidth/2, i*brickHeight+50))8 brickPos.append(elements)按著在setup()中,先定義每塊磚的長和寬。利用for 去重覆,每次更新每塊磚的位置。由於rectMode()是用CENTER,所以每塊磚的x座標要再加上半塊磚的距離。
xxxxxxxxxx41for i in range(6):2 fill(brickColor[i])3 for j in range(16):4 rect(brickPos[i][j].x, brickPos[i][j].y, brickWidth, brickHeight)最後在draw()中,將所有的磚畫出來。每行的磚都有自己的顏色,這時就要用之前事前已經用list存好的brickColor[]
5. 令磚頭消失
xxxxxxxxxx781ballPos = PVector()2ballVec = PVector()3
4beam = PVector()5beamWidth = 1006
7brickPos = []8brickState = [] 9brickWidth = 010brickHeight = 011brickColor = ["#C54846","#CE7238","#BB7C2F","#A29B27","#429143","#4350CC"]12
13def setup():14    global ballPos, ballVec, beam, brickPos, brickWidth, brickHeight, brickState15    16    size(800, 600)17    18    ballPos = PVector(width/2, height-20)19    ballVec = PVector(random(-5,5), -1)20    21    beam = PVector(width/2, height-15)22    rectMode(CENTER)23    24    brickWidth = width/1625    brickHeight = 2026    27    for i in range(6):28        elements = []29        for j in range(16):30            elements.append(PVector(j*brickWidth+brickWidth/2, i*brickHeight+50))31        brickPos.append(elements)32        33    for i in range(6):34        stateElements = []35        for j in range(16):36            stateElements.append(True)37        brickState.append(stateElements)38        39def draw():40    global ballPos, ballVec, beam, brickPos, brickWidth, brickHeight, brickState41    42    background(30)43    44    ballPos = ballPos.add(ballVec)45    beam = PVector(mouseX, beam.y)46    47    if (ballPos.x <= 0 or ballPos.x >= width):48        ballVec.x *= -149    if ballPos.y <=0:50        ballVec.y *= -151    52    if ballPos.x >= beam.x - beamWidth/2 and ballPos.x <= beam.x + beamWidth/2 and ballPos.y >= height-15:53        ballVec.y *= -154    55    fill(198, 73, 75)56    noStroke()57    rect(ballPos.x, ballPos.y, 20, 20)58    rect(beam.x, beam.y, beamWidth, 10)59    60    for i in range(6):61        fill(brickColor[i])62        for j in range(16):63            if isInBox(ballPos, brickPos[i][j]):64                brickState[i][j] = False65            if brickState[i][j]:66                rect(brickPos[i][j].x, brickPos[i][j].y, brickWidth, brickHeight)67                68
69def isInBox(_ballPos, _brickPos):70    x = _ballPos.x71    y = _ballPos.y72    bX = _brickPos.x73    bY = _brickPos.y74    w = brickWidth75    h = brickHeight76    77    if x >= bX - w/2 and x <= bX + w/2 and y >= bY - h/2 and y <= bY + h/2:78        return True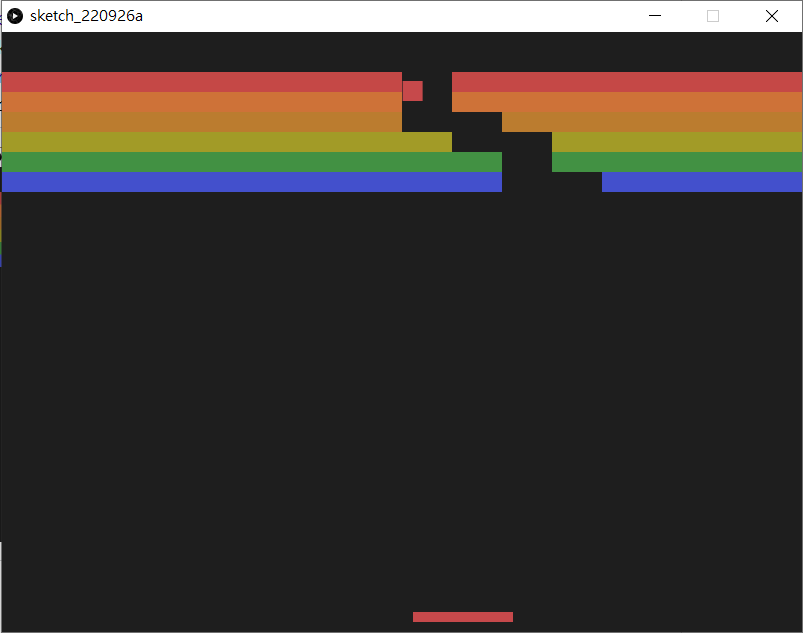
xxxxxxxxxx51for i in range(6):2stateElements = []3for j in range(16):4stateElements.append(True)5brickState.append(stateElements)
在setup()中,加入另一個for loop,初始化brickState變成6x16的2d list,並將全部內容都設為True。
xxxxxxxxxx101def isInBox(_ballPos, _brickPos):2 x = _ballPos.x3 y = _ballPos.y4 bX = _brickPos.x5 bY = _brickPos.y6 w = brickWidth7 h = brickHeight8 9 if x >= bX - w/2 and x <= bX + w/2 and y >= bY - h/2 and y <= bY + h/2:10 return True在setup()和draw()之外,加入第3個自定的函數(function)。這個函數(function)你可以隨意命名,不一定要跟我一樣,函數(function)有2個參數(parameter),python不需要跟其他程式一樣事前定義參數(parameter)的數據格式,你導入的引數(Argument)格式是甚麼就是甚麼,一般為了方便驅分,參數的命名如果跟全域變數(global varaiable)很像的話,都會在名字前面加入_。
xxxxxxxxxx71for i in range(6):2 fill(brickColor[i])3 for j in range(16):4 if isInBox(ballPos, brickPos[i][j]):5 brickState[i][j] = False6 if brickState[i][j]:7 rect(brickPos[i][j].x, brickPos[i][j].y, brickWidth, brickHeight)每次在繪畫磚塊之時,檢查一下球有否撞過磚塊,如果有的話, 就將其狀態(brickState)設定為False,在繪畫時就不繪畫它。
6. 判斷贏或是輸
xxxxxxxxxx1111ballPos = PVector()2ballVec = PVector()3
4beam = PVector()5beamWidth = 1006
7brickPos = []8brickState = [] 9brickWidth = 010brickHeight = 011brickColor = ["#C54846","#CE7238","#BB7C2F","#A29B27","#429143","#4350CC"]12
13gameOver = False14
15def setup():16    global ballPos, ballVec, beam, brickPos, brickWidth, brickHeight, brickState17    18    size(800, 600)19    20    ballPos = PVector(width/2, height-20)21    ballVec = PVector(random(-5,5), -5)22    23    beam = PVector(width/2, height-15)24    rectMode(CENTER)25    26    brickWidth = width/1627    brickHeight = 2028    29    for i in range(6):30        elements = []31        for j in range(16):32            elements.append(PVector(j*brickWidth+brickWidth/2, i*brickHeight+50))33        brickPos.append(elements)34        35    for i in range(6):36        stateElements = []37        for j in range(16):38            stateElements.append(True)39        brickState.append(stateElements)40        41    gameOver = False    42                             43def draw():44    if not gameOver:45        runGame()46        checkIfWin()47        checkIfLose()48
49def isInBox(_ballPos, _brickPos):50    x = _ballPos.x51    y = _ballPos.y52    bX = _brickPos.x53    bY = _brickPos.y54    w = brickWidth55    h = brickHeight56    57    if x >= bX - w/2 and x <= bX + w/2 and y >= bY - h/2 and y <= bY + h/2:58        return True59    60def runGame():61    global ballPos, ballVec, beam, brickPos, brickWidth, brickHeight, brickState62    63    background(30)64        65    ballPos = ballPos.add(ballVec)66    beam = PVector(mouseX, beam.y)67    68    if (ballPos.x <= 0 or ballPos.x >= width):69        ballVec.x *= -170    if ballPos.y <=0:71        ballVec.y *= -172    73    if ballPos.x >= beam.x - beamWidth/2 and ballPos.x <= beam.x + beamWidth/2 and ballPos.y >= height-15:74        ballVec.y *= -175        ballVec.x += random(-5,5)76    77    fill(198, 73, 75)78    noStroke()79    rect(ballPos.x, ballPos.y, 20, 20)80    rect(beam.x, beam.y, beamWidth, 10)81    82    for i in range(6):83        fill(brickColor[i])84        for j in range(16):85            if isInBox(ballPos, brickPos[i][j]):86                brickState[i][j] = False87            if brickState[i][j]:88                rect(brickPos[i][j].x, brickPos[i][j].y, brickWidth, brickHeight)89
90def checkIfLose():91    global gameOver92    if (ballPos.y >= height):93        gameOver = True94        textSize(48)95        textAlign(CENTER, CENTER)96        text("GAME OVER", width/2, height/2)97
98def checkIfWin():99    global gameOver100    101    hasTrue = False102    103    for i in range(6):104        for j in range(16):105            hasTrue = hasTrue or brickState[i][j]106    107    if hasTrue == False:108        gameOver = True109        textSize(48)110        textAlign(CENTER, CENTER)111        text("YOU WIN", width/2, height/2)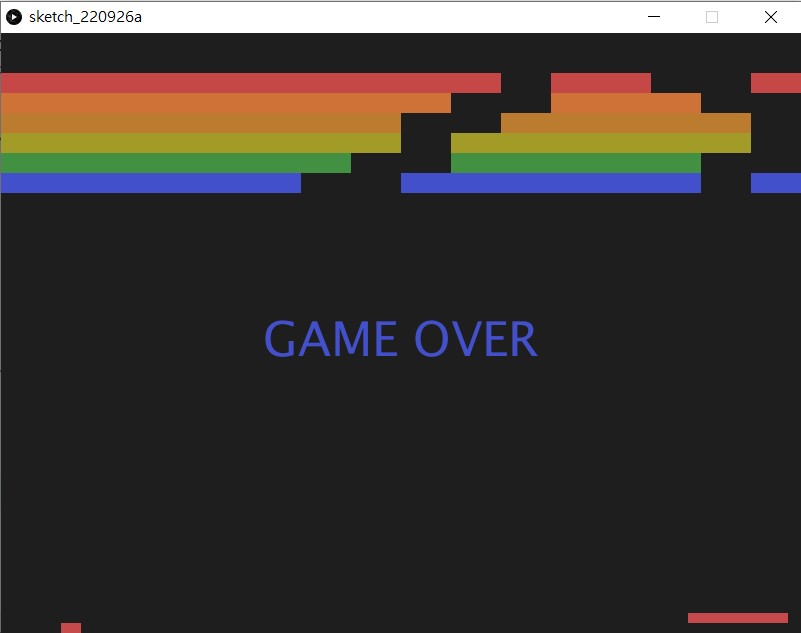
xxxxxxxxxx291def runGame():2 global ballPos, ballVec, beam, brickPos, brickWidth, brickHeight, brickState3 4 background(30)5 6 ballPos = ballPos.add(ballVec)7 beam = PVector(mouseX, beam.y)8 9 if (ballPos.x <= 0 or ballPos.x >= width):10 ballVec.x *= -111 if ballPos.y <=0:12 ballVec.y *= -113 14 if ballPos.x >= beam.x - beamWidth/2 and ballPos.x <= beam.x + beamWidth/2 and ballPos.y >= height-15:15 ballVec.y *= -116 ballVec.x += random(-5,5)17 18 fill(198, 73, 75)19 noStroke()20 rect(ballPos.x, ballPos.y, 20, 20)21 rect(beam.x, beam.y, beamWidth, 10)22 23 for i in range(6):24 fill(brickColor[i])25 for j in range(16):26 if isInBox(ballPos, brickPos[i][j]):27 brickState[i][j] = False28 if brickState[i][j]:29 rect(brickPos[i][j].x, brickPos[i][j].y, brickWidth, brickHeight)首先開一個函數叫runGame(),將所有原本在draw()之中的內容都剪下貼上到這個函數之中。留意一下,在這裡的第16行,被加入了一句ballVec.x += random(-5,5),令到每次當球反彈時,不會根據物理原理跟隨法線反彈,而是會隨機加一點亂數,放便消除所有的磚,否則有一些磚可能要花十分多時間才會消除。
xxxxxxxxxx11gameOver = False在程式最開始的宣告區,開一個變數叫gameOver,在setup()中設定它為False。
xxxxxxxxxx51def draw():2 if not gameOver:3 runGame()4 checkIfWin()5 checkIfLose()在原本的draw()中,修改一下,如果gameOver是False的話,即代表遊戲還沒有結束,所以就要runGame()即繼續遊戲,之後額外加多2個函數,分別去檢查遊戲是贏了還是輸了。
xxxxxxxxxx71def checkIfLose():2 global gameOver3 if (ballPos.y >= height):4 gameOver = True5 textSize(48)6 textAlign(CENTER, CENTER)7 text("GAME OVER", width/2, height/2)要檢查是否輸就很簡單,如果球飛出了畫面,就即是輸了,所以檢查ballPos.y,如果大於height的話即出了界,就判定其為輸。
xxxxxxxxxx141def checkIfWin():2 global gameOver3 4 hasTrue = False5 6 for i in range(6):7 for j in range(16):8 hasTrue = hasTrue or brickState[i][j]9 10 if hasTrue == False:11 gameOver = True12 textSize(48)13 textAlign(CENTER, CENTER)14 text("YOU WIN", width/2, height/2)要檢查是否贏就一點複雜,首先要參考一下下表:

在邏輯運算中,or 的邏輯運算,兩個輸入只要有一個是True,就會得出結果為True。所以一開始我們設定一個叫hasTrue的變數,一開始的值是False,之後將所有的brickState[][]都和這個變數or一次,如果其中一個(例如是第2個)是True的話,那麼結果就會變成True,之後即使再or其他的brickState[][],brickState[][]的狀態即使是False,之前的結果也已經轉成了True,所以再or也是True。除非全部的brickState[][]都是False,那麼跟hasTrue全部or一次的結果才會是False。(這是一個寫遊戲很常用的技巧,可以記一下,之後寫遊戲會經常用得著)
7. 考考你
請自行為遊戲加入:
按下鍵盤的
r鍵後會自動重啟這個遊戲;加入生命值,如果出了界的話,不會立即gameover,而是會減少生命值,例如有3次機會,出界3次後少gameover。再將生命值用文字顯示在最上方正中,像原版一樣;
加入分數(score),每當消除一塊磚就加1分,將分數顯示在遊戲左上角;
加入回合制,完成了一關之後,可以開始下一回合,下一回合的磚頭數量(例如行數加多一行)會有變化,每兩至三關球的速度會加速,消滅磚塊的分數也會跟據回合倍增變成第1關1分, 第2關2分等等。